필수 플러그인 Wp Super Cache 설치 및 설정방법

필수 플러그인 Wp Super Cache 설치 및 설정방법

필수 플러그인 Wp Super Cache 설치 및 설정방법

WP Super Cache 03
워드프레스 필수 플러그인인  WP Super Cache 플러그인 설치 및 기본 설정 방법을 알려 드리겠습니다.
설치하는 방법은 일반적인 플러그인 설치 방법과 동일합니다.
관리자화면에서 [플러그인 > 새로추가] 메뉴를 선택한 후 WP Super Cache를 검색하여 [지금 설치]를 선택해 주시면 됩니다.
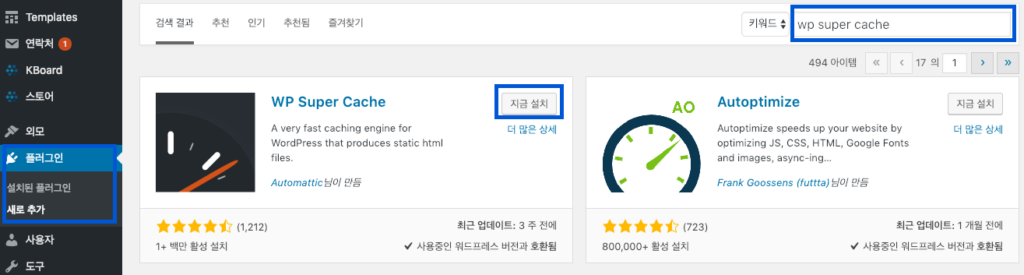
WP Super Cache 01
설치가 완료 된 후 [활성화]를 선택해 주시면 홈페이지 적용됩니다.
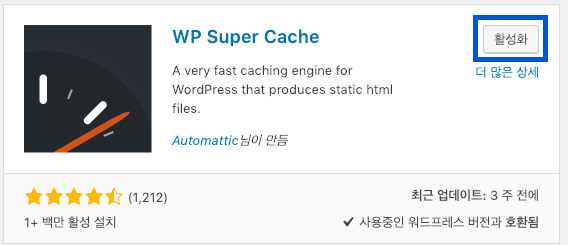
WP Super Cache 02
WP Super Cache 설정하는 방법입니다.
활성화를 하면 설정에 해당 메뉴가 생성됩니다. [설정 > WP Super Cache]를 선택합니다.
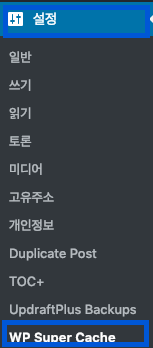
WP Super Cache 05
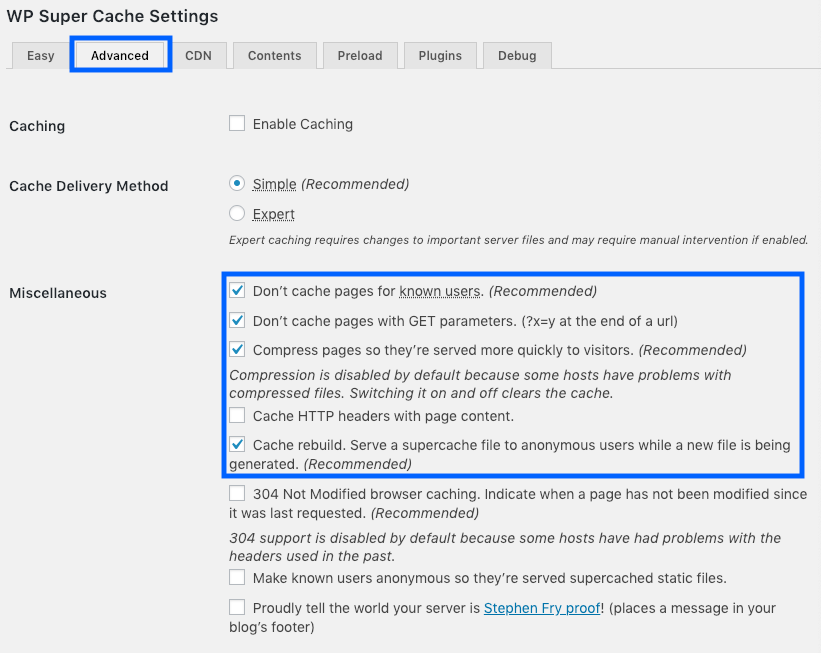
상단의 탭 중에서  [Advanced] 탭을 선택합니다.
Miscellaneous에서 이미지에 표시된 부분에 체크합니다. 대부분 플러그인에서 권장하는 사항을 체크합니다.
WP Super Cache 06
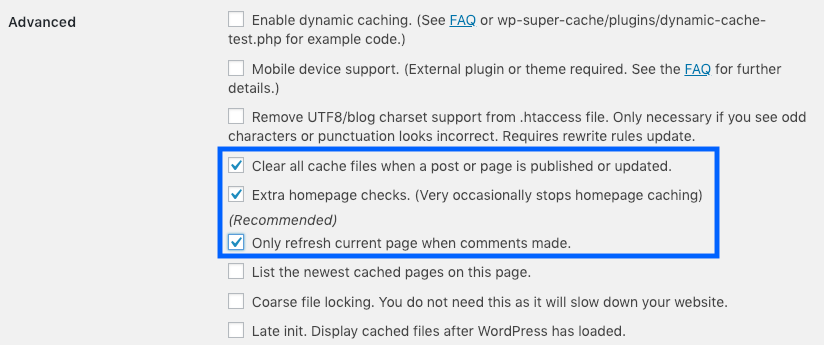
Advanced에서 이미지에 표시한 부분을 체크합니다.
WP Super Cache 07
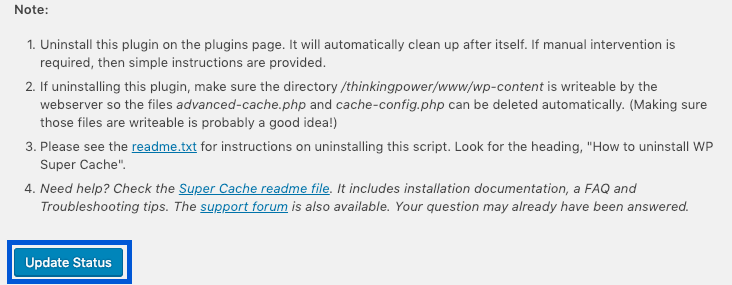
위의 설정을 완료했으면 [Update Status]를 클릭하면 설정이 적용됩니다.
WP Super Cache 08

We value your privacy

We use cookies to make this website work and, with your permission, to understand how it is used and to measure our advertising. Necessary cookies are always on. Analytics and marketing cookies stay off unless you choose “Accept all” or switch them on under “Customize”. You can change your choice at any time from “Cookie settings” at the bottom of the page. Read our Privacy Policy.

Strictly necessaryNeeded for the site to work: security, your language choice and remembering your cookie settings. These cannot be switched off.
Always active